 Merken
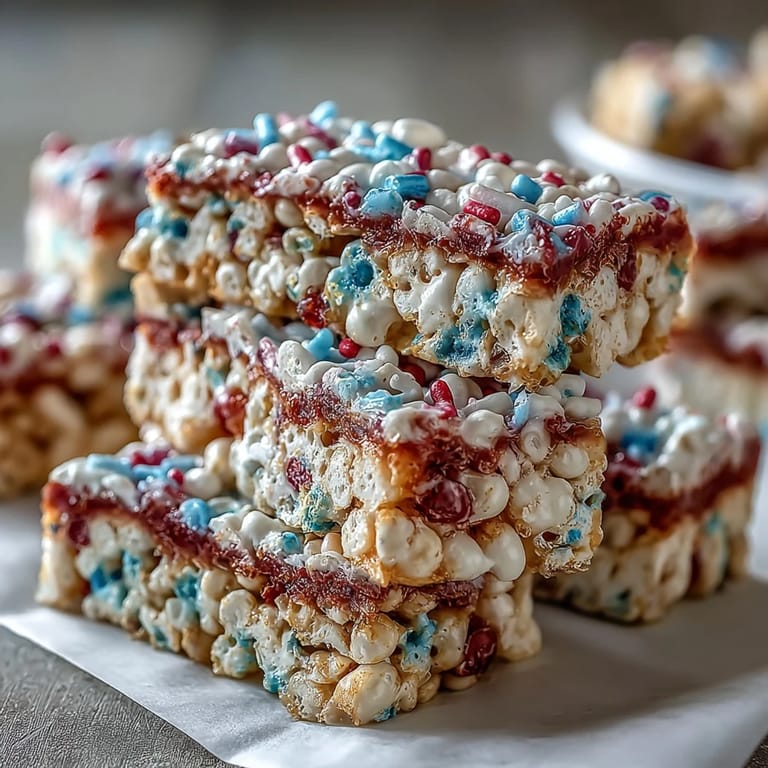
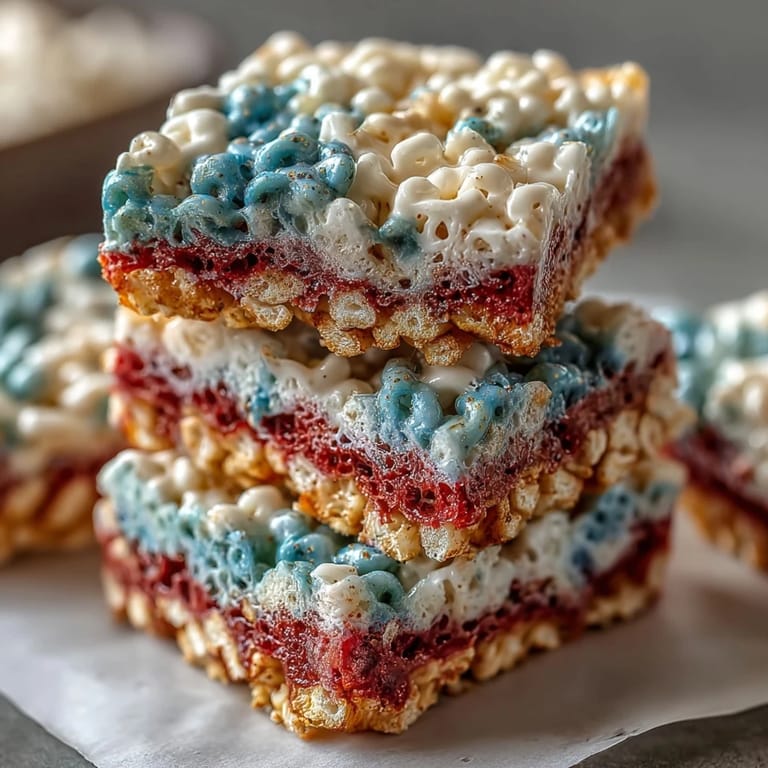
 My kids spotted the red, white, and blue Rice Krispies treats at a neighborhood cookout last summer, and their faces lit up like the fireworks hadn't even started yet. That afternoon, I realized these weren't just candy—they were edible patriotism, the kind of thing that makes a holiday feel intentional. The best part? They're so simple that even my youngest could help press the layers into the pan, turning the kitchen into our own little Independence Day headquarters.
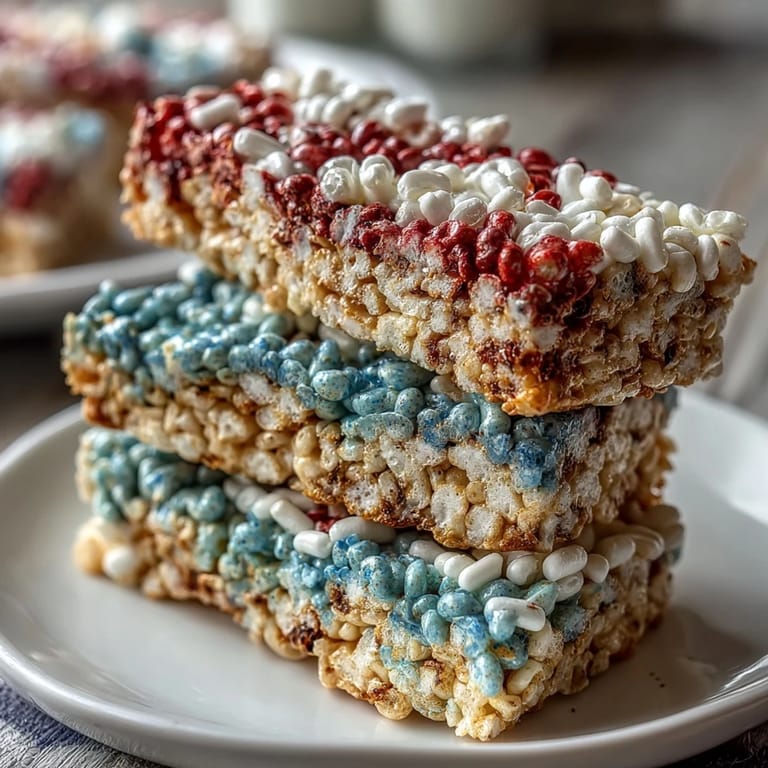
I'll never forget the Fourth of July when my sister brought a batch to our family gathering, and my uncle—who usually complains about "fancy" desserts—went back for thirds. He kept saying he couldn't figure out how we got the layers so clean, which made the whole thing feel like a little magic trick we'd pulled off in the kitchen together.
Ingredients
- Rice Krispies cereal: You need six cups total, which is about half a standard box, and it's the crispy skeleton that holds everything together—stale cereal will make these sad and dense.
- Mini marshmallows: One ten-ounce bag divided into three portions, and they melt faster than regular marshmallows, which saves you time and frustration.
- Unsalted butter: Three tablespoons total (one per layer) keeps you in control of the salt level, though honestly, a tiny pinch of sea salt on top tastes incredible.
- Vanilla extract: Just half a teaspoon in the white layer adds a whisper of flavor that makes people ask what your secret ingredient is.
- Red gel food coloring: Gel creates vivid color without making your mixture soggy like liquid coloring would—trust me on this one.
- Blue gel food coloring: Same rule as the red; gel is your friend here.
- Red, white, and blue sprinkles (optional): These go on while the top layer is still slightly warm, so they stick and look intentional rather than scattered.
Tired of Takeout? 🥡
Get 10 meals you can make faster than delivery arrives. Seriously.
One email. No spam. Unsubscribe anytime.
Instructions
- Prepare your pan and gather your thirds:
- Line a nine-by-nine-inch baking pan with parchment paper, leaving a little overhang on the sides so you can lift the whole thing out later. Divide your marshmallows and butter into three equal piles before you start heating anything—this prevents the scramble of measuring while you're holding a hot saucepan.
- Make the red layer:
- Melt one tablespoon of butter over low heat, add your first portion of marshmallows, and stir until they're completely smooth and glossy. Add just a few drops of red gel coloring and stir well—the color will deepen as it sits, so start light.
- Add the cereal to the red mixture:
- Toss in two cups of Rice Krispies and fold everything together until every piece is coated with that gorgeous marshmallow-butter mixture. Press this layer firmly into the bottom of your pan using a lightly greased spatula or your greased hands.
- Build the white layer:
- Wipe out your saucepan, melt the second tablespoon of butter, and repeat the process with the second marshmallow portion, stirring in vanilla extract instead of food coloring. Add two cups of Rice Krispies, coat everything, then gently press this layer on top of the red one—you want it snug but not so hard that you squish the layer below.
- Top it off with blue:
- One more time: clean saucepan, last bit of butter, final marshmallow portion, a few drops of blue gel coloring. Add your last two cups of Rice Krispies, coat, and press carefully over the white layer.
- Optional sprinkle moment:
- While the top is still slightly warm, scatter your patriotic sprinkles across the surface—they'll stick just enough to look intentional. If you wait until it's completely cool, they'll just roll off.
- Cool and cut:
- Let everything set for at least an hour, maybe longer if your kitchen is warm. Once it's firm, lift the whole block out using those parchment paper flaps and slice into squares with a sharp knife dipped in water between cuts.
 Merken
 There's something about watching someone bite into these and seeing the three distinct colors all at once that makes them smile before they even taste them. That's when I knew this recipe was worth keeping around.
Why Gel Coloring Actually Matters Here
The first time I made these with liquid food coloring, I thought I was being clever and saving money, but the mixture got weepy and separated, and the colors bled into each other like a sad watercolor painting. Gel coloring is thicker, so it doesn't dilute your marshmallow-butter ratio, and the colors stay vivid and clean—plus, a little goes a long way, so your one bottle lasts through several batches.
The Importance of Preparation
Measuring out your marshmallows and butter into thirds before you start is genuinely the move that separates a smooth cooking experience from one where you're frantically dividing things over a hot stove. I usually use three small bowls and line them up, which also makes cleanup easier because you're not using the cereal box three times.
Storage, Flavor Variations, and Last-Minute Tweaks
These keep beautifully in an airtight container for up to three days, though they're honestly best on day one when they're still slightly chewy in the center. You can swap the vanilla in the white layer for almond extract if you want something different, or even add a tiny pinch of salt to each layer for a sweet-salty contrast that makes people go back for more.
- If you're short on time, you can speed up cooling by placing the pan in the refrigerator for thirty minutes instead of waiting the full hour, but the room-temperature method keeps them chewier.
- A damp knife makes cutting cleaner and prevents sticking, so run it under warm water between each slice.
- These are vegetarian but not vegan, since marshmallows contain gelatin—just something to keep in mind if you're serving a mixed crowd.
 Merken
 Make these once, and they become your go-to Fourth of July tradition, the kind of thing people start asking you for by name. There's real joy in turning something so simple into something that looks like you spent hours in the kitchen.
Häufige Fragen zum Rezept
- → Wie wird jede Farbschicht hergestellt?
Jede Schicht entsteht, indem Marshmallows und Butter geschmolzen, mit Lebensmittelfarbe vermengt und dann mit Rice Krispies vermischt werden. Anschließend wird die Masse schichtweise im Backblech verteilt.
- → Welche Zutaten sorgen für die typische Konsistenz?
Die Kombination aus geschmolzenen Marshmallows und Butter verbindet die Rice Krispies zu zähen, gut formbaren Schichten.
- → Wie vermeidet man, dass die Schichten auseinanderfallen?
Das sanfte Andrücken jeder Schicht und vollständiges Abkühlen sorgen für festen Halt beim Schneiden und Servieren.
- → Kann man auch andere Farben verwenden?
Ja, gelartige Lebensmittelfarben eignen sich ideal, da sie kräftige Farben geben und die Konsistenz nicht verändern.
- → Wie lange bleiben die Schichten frisch?
In einem luftdichten Behälter bleiben sie etwa drei Tage frisch und behalten ihre Textur.